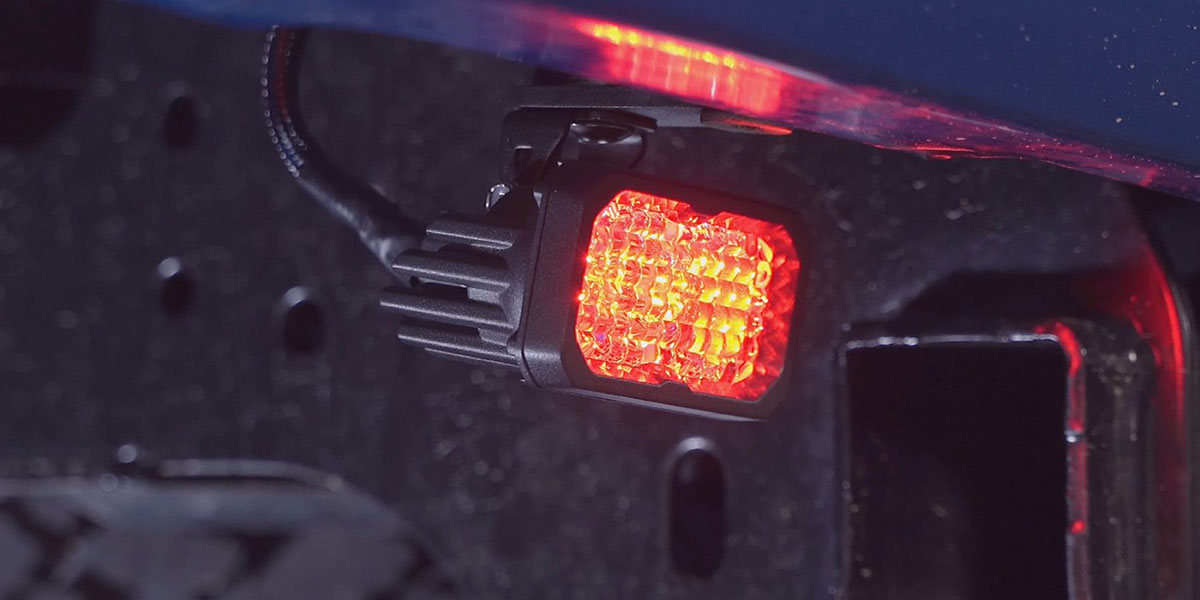
How to Install: 2017-2022 Super Duty Stage Series LED Reverse Light Kit
The Stage Series LED Reverse Light Kit for the 2017-2022 Ford Super Duty adds LED Pod Lights as high-power backup lights and eye-catching red accent lights. The following installation guide will provide you with detailed instructions on how to install the Stage Series LED Reverse Light Kit for the 2017-2022 Ford Super Duty. Check out our installation video and continue reading for step-by-step instructions below!
Table of Contents
- Installation Tools
- Installation Video
- Mounting Instructions
- Wiring Instructions
Installation Tools
Installation Video
Mounting Instructions
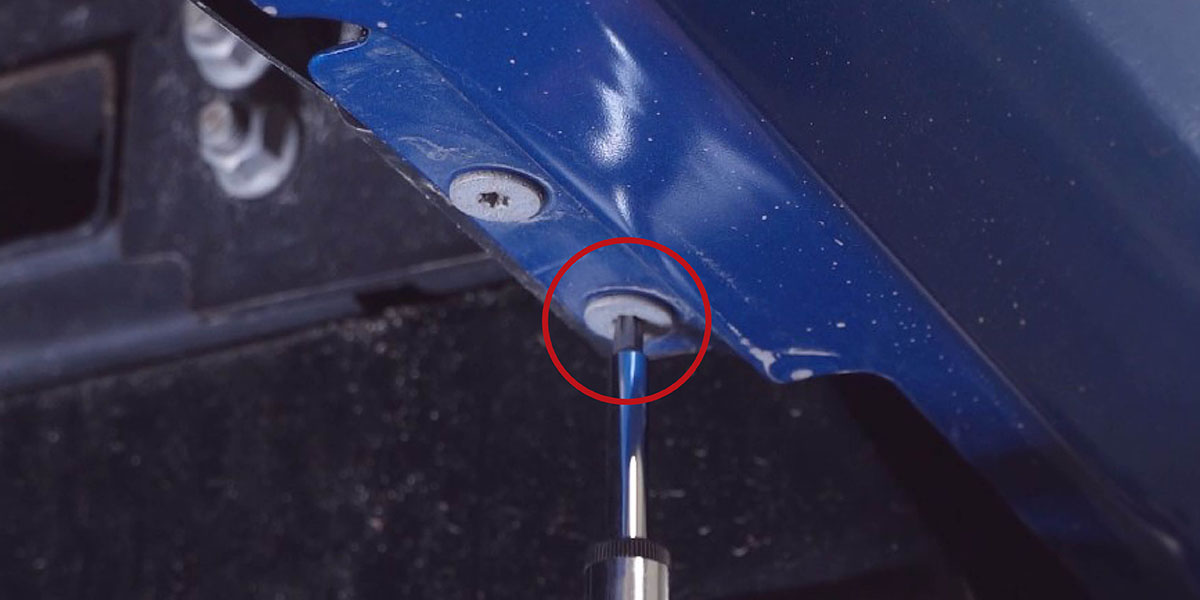
Step 1 - Remove Bumper Bolt
Using the T40 Torx wrench, remove the T40 Torx bolt closest to the hitch on the underside of the bumper. Use the inner bolt, NOT the outside bolt.
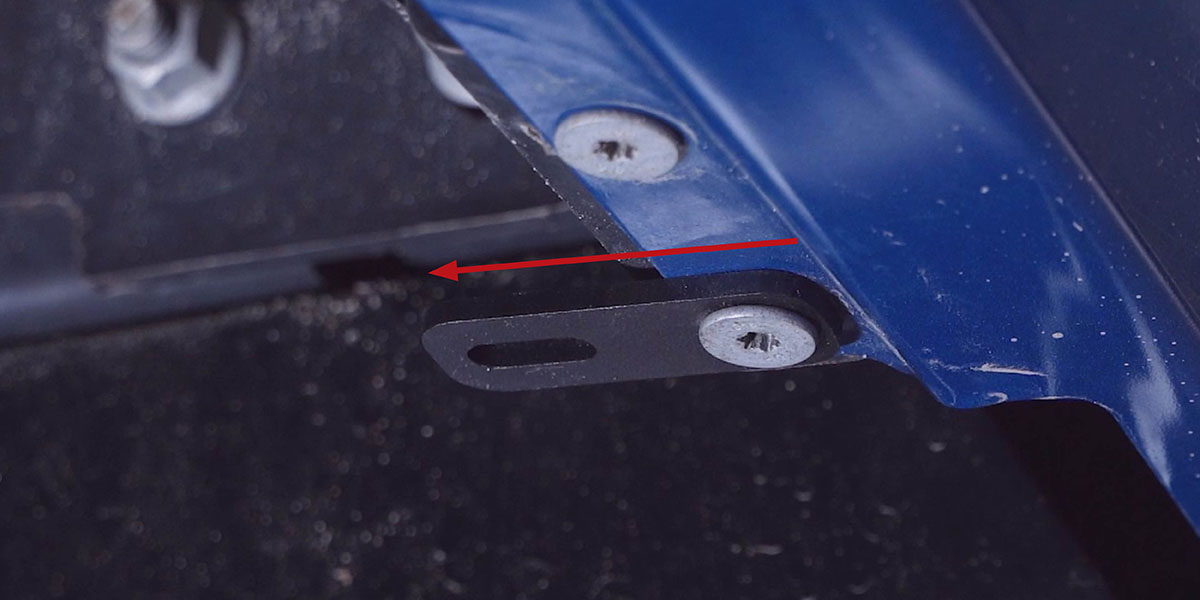
Step 2 - Mount Reverse Bracket
Install the reverse bracket with the factory T40 bolt removed in the previous step by threading the bolt through the circular hole in the bracket. Then reinstall the factory T40 Torx bolt into the bumper, making sure the oval-shaped bracket hole faces towards the front of the vehicle.
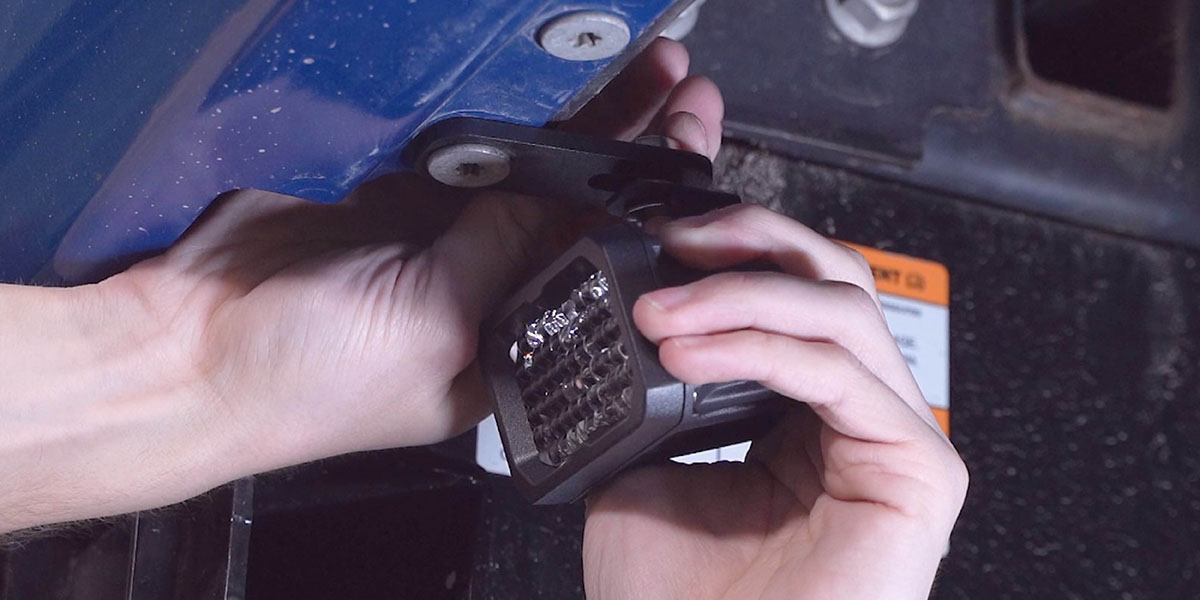
Step 3 - Install Stage Series Pod
Install your new Stage Series pod onto the universal bracket using the provided hardware. Using a 5/32" Allen key and a 3/8" wrench, tighten the screw until the pod retains its position, but can pivot with force for aiming.
Repeat these steps on the other side of the vehicle to install the second Stage Series pod light.
Wiring Instructions

Note: If you have Stage Series C1R light pods, you will use the C1R 7-pin dual output wiring harness. For all other 4-pin Stage Series light pods, you will use the regular 7-pin dual output wiring harness.
Step 4 - Connect 7-Pin Harness
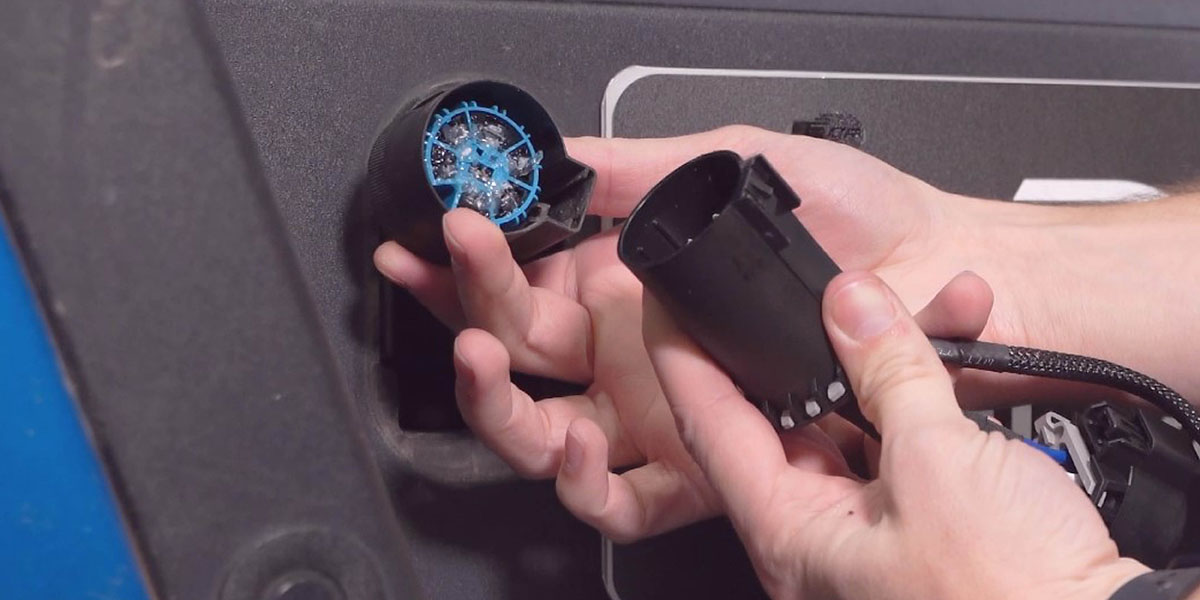
From underneath the vehicle, disconnect the factory trailer hitch connector. Connect the provided 7-pin trailer hitch harness in line between the connector on the OEM harness and the connector on the back of the bumper (A).
Step 5
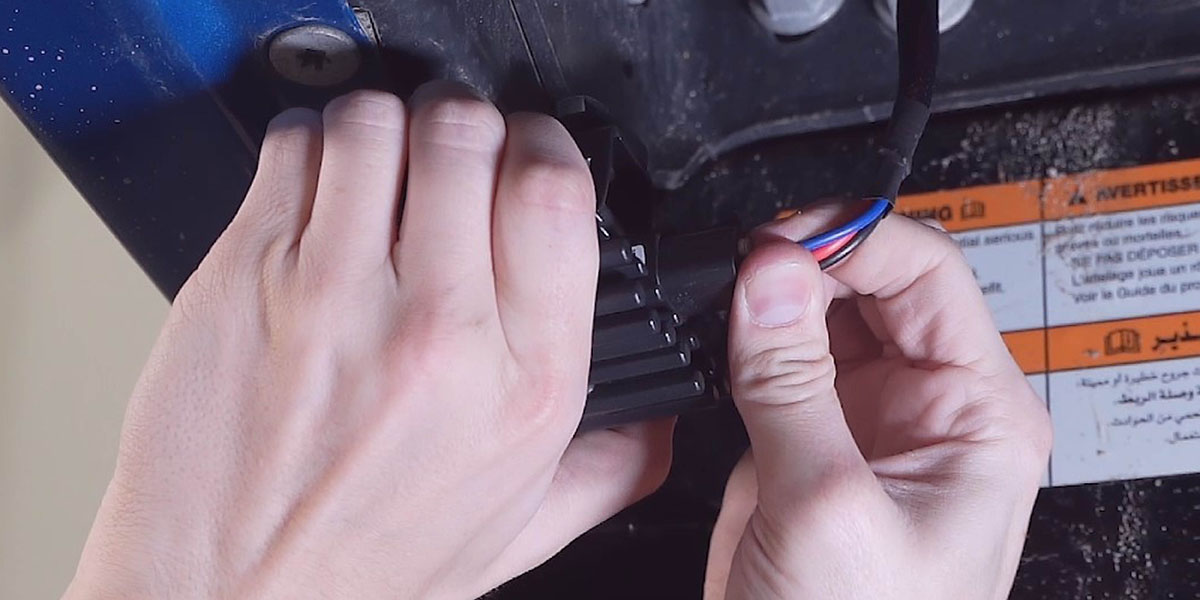
Plug the DT connectors (B) into the back of the LED pods.
Step 6 - Aim Pod Lights
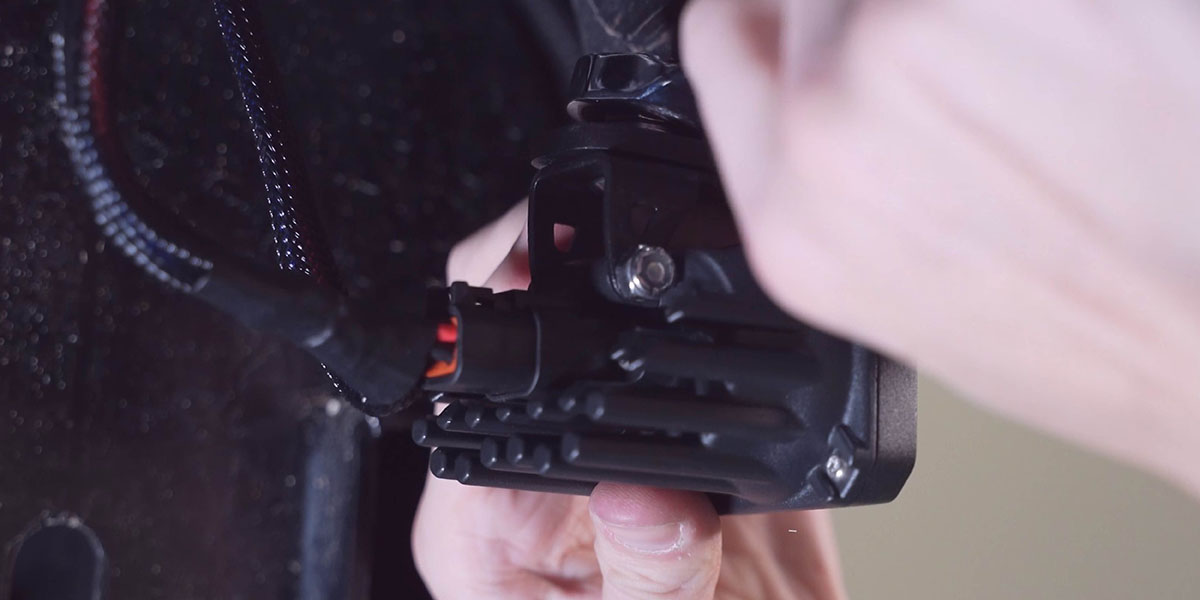
Aim the pods as desired. Then tighten down the hardware using a 5/32” Allen key and a 3/8" wrench. Aiming can be achieved with the pods installed on the vehicle. There is no need to remove the pods to re-aim.
Step 7 - Test Function
Test the function. Then secure the wiring harness with the included zip ties to complete installation.
